Flickering lights are one of those household annoyances that can range from mildly irritating to genuinely concerning. A light that flickers once and settles down is easy to ignore. But when the blinking becomes persistent — a constant flutter, a rhythmic dimming, or a strobe-like flash every time you walk past — it demands attention. The good news is that many flickering light problems have straightforward solutions you can handle yourself, without picking up the phone to call an electrician. This guide walks you through diagnosing the cause and applying the right fix, step by step.
Is a Flickering Light Dangerous?
Before diving into fixes, it is worth addressing the safety question upfront. A flickering light is not always a sign of danger. In many cases, it is simply a loose bulb, a tired switch, or a minor compatibility issue. However, certain warning signs do warrant professional attention. If you notice a burning smell near the fixture, scorch marks around the outlet, a buzzing sound that does not go away after tightening the bulb, or flickering that affects multiple rooms simultaneously, stop and call a licensed electrician. These symptoms can indicate serious wiring faults, overloaded circuits, or arcing — all of which pose a fire risk.
If your situation is limited to a single fixture or a single room and there are no alarming secondary symptoms, you are likely dealing with a manageable issue. Let us walk through the most common causes and their fixes.
Start with the Simplest Fix: Tighten the Bulb
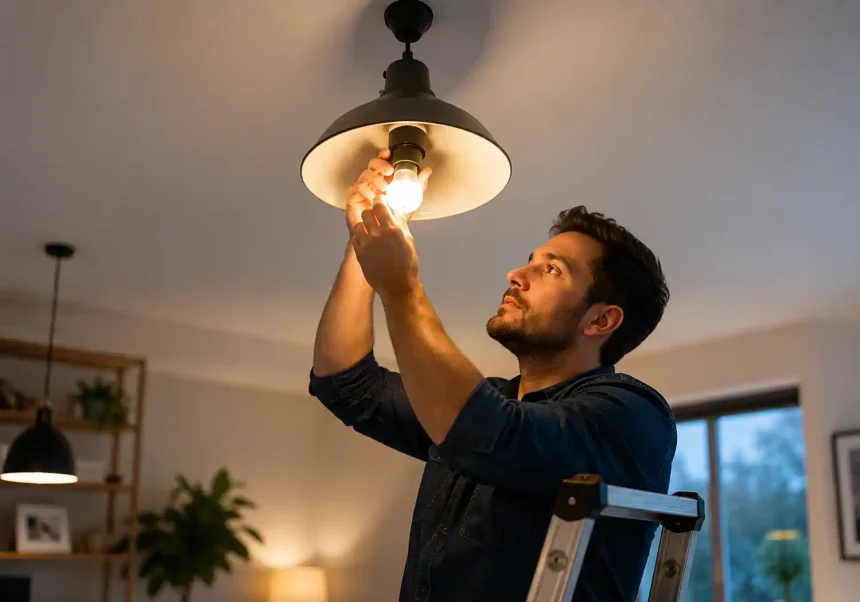
It sounds almost too obvious, but a loose bulb is the single most common cause of flickering lights. The metal contact at the base of the bulb needs to maintain a solid connection with the tab inside the socket. Over time, vibrations from footsteps, slamming doors, or even passing traffic can cause bulbs to gradually unscrew themselves.
How to Check and Tighten a Bulb Safely
First, turn off the light switch and give the bulb a few minutes to cool down — especially if it is an incandescent or halogen bulb that runs hot. Once cool, grip the bulb firmly and turn it clockwise until it seats snugly in the socket. Do not over-tighten, as this can damage the socket or make future removal difficult.
If the flickering stops, you have solved the problem in under a minute. If it persists, move on to the next step.
Swap the Bulb for a New One
A bulb that is nearing the end of its life can flicker intermittently before it finally burns out. This is particularly common with fluorescent tubes and aging LED bulbs. The internal components — whether a filament, a ballast, or a driver circuit — may degrade unevenly, producing inconsistent light output.
Testing with a Known-Good Bulb
Take a bulb from another fixture that you know is working properly and install it in the flickering socket. If the flickering stops, the original bulb was the culprit. Replace it and move on. If the problem remains even with a known-good bulb, the issue lies elsewhere.
Clean the Socket Contacts
Corrosion, dust, or a thin layer of oxidation on the metal contacts inside the socket can disrupt the flow of electricity. This is especially common in older homes or in fixtures located in damp areas like bathrooms, basements, and outdoor spaces.
How to Clean a Light Socket
Begin by turning off the circuit breaker that controls the fixture. Use a non-contact voltage tester to confirm the power is truly off — never rely on the wall switch alone. Once you have verified the circuit is dead, inspect the socket. Look for a small metal tab at the bottom center. Over time, this tab can become flattened, reducing contact pressure.
Use a dry, clean cloth or a small brush to gently wipe away any visible dust or debris. If you see signs of corrosion, a small amount of electrical contact cleaner sprayed onto a cotton swab can help. Avoid using anything abrasive that might scratch the metal. If the center tab appears flattened, use a wooden toothpick or a small flathead screwdriver with an insulated handle to gently pry it upward by a millimeter or two. This restores firm contact with the bulb base.
Inspect and Replace a Worn Light Switch
If the bulb and socket are both fine, the next suspect is the light switch. Switches contain mechanical contacts that wear down over hundreds or thousands of cycles. A failing switch may produce a flickering light, especially when you toggle it on or off or when it is in a partially engaged position.
Signs Your Switch Is the Problem
A switch that crackles, feels loose, or only works when pressed at a specific angle is telling you it needs replacement. Flickering that occurs when you gently wiggle the switch lever is another strong indicator.
Replacing a Standard Light Switch
Replacing a basic single-pole switch is a manageable DIY project if you follow safety protocols carefully. Turn off the circuit breaker and verify with a voltage tester. Remove the switch plate, unscrew the switch from the electrical box, and pull it out gently. Take a photo of the wiring configuration before disconnecting anything. Most single-pole switches have two brass terminal screws and a green ground screw. Transfer the wires to the matching terminals on the new switch, secure everything back into the box, and restore power.
If you are uncomfortable working inside an electrical box, there is no shame in calling a professional for this step. But for those with basic DIY skills, it is a fifteen-minute job that costs under \$10 in materials.
Address LED Dimmer Compatibility Issues
This is arguably the most common cause of flickering lights in modern homes. If you have replaced old incandescent bulbs with LEDs but left the original dimmer switch in place, you have likely created a compatibility problem. Traditional dimmers were designed for the higher wattage draw of incandescent bulbs. LEDs draw far less power, and an incompatible dimmer can struggle to regulate the lower current, resulting in visible flickering — especially at lower brightness settings.
The Solution: Match Your Dimmer to Your Bulbs
Check the packaging of your LED bulbs. Most manufacturers list compatible dimmer models on their websites or directly on the box. Look for bulbs labeled “dimmable” — non-dimmable LEDs will flicker, buzz, or fail prematurely when used with any dimmer.
The most reliable approach is to install an LED-compatible dimmer switch. These are widely available at hardware stores and are specifically designed to handle the low-wattage load and electronic drivers found in LED bulbs. Brands like Lutron, Leviton, and Eaton offer models that work with a broad range of bulbs. The installation process is nearly identical to replacing a standard switch.
Check for Loose Wiring Connections
A loose wire connection — whether at the fixture, inside the switch box, or at the circuit breaker — can cause intermittent flickering. This is where the DIY boundary starts to blur. Tightening a loose wire nut inside a fixture canopy is one thing; diagnosing a loose connection at the breaker panel is another entirely.
What You Can Safely Check
With the circuit breaker turned off and voltage confirmed absent, remove the fixture canopy or the switch cover and gently tug on each wire nut to ensure it is secure. Look for any wire that appears to have slipped partially out of its connector. If you find a loose connection, strip back a fresh section of wire if needed, twist the wires together firmly with lineman’s pliers, and secure them with a properly sized wire nut.
If all connections at the fixture and switch appear solid and the flickering continues, the problem may lie deeper in the circuit. At that point, an electrician’s expertise is the safest path forward.
When Flickering Affects Multiple Fixtures
If lights flicker throughout the house — especially when a major appliance like an air conditioner, refrigerator, or washing machine cycles on — the issue is likely at the system level. This could indicate an overloaded circuit, a failing breaker, loose connections at the main panel, or even a problem with the utility service drop. These are not DIY fixes. A momentary dimming when a large motor starts is relatively normal, but persistent or severe flickering across multiple circuits needs professional evaluation.
Consider the Bulb Type and Environment
Not all bulbs perform equally in all conditions. LED bulbs installed in enclosed fixtures can overheat if they are not rated for enclosed use, leading to flickering and premature failure. Similarly, bulbs used outdoors or in unheated spaces need to be rated for cold-weather operation. Check the bulb’s labeling and match it to the environment.
CFL bulbs are particularly sensitive to cold temperatures and may flicker for several minutes until they warm up. If this describes your situation, switching to a cold-rated LED bulb is a simple and effective upgrade.
Summary: A Methodical Approach Saves Time and Money
Flickering lights do not have to mean an expensive service call. By working through the problem systematically — from the bulb to the socket to the switch to the dimmer — you can resolve the vast majority of flickering issues with basic tools and a methodical mindset. The key is to never skip the safety checks: always confirm the power is off before touching wiring, and know your limits. A \$5 bulb or a \$10 switch often solves what looks like a complicated electrical problem, and the satisfaction of fixing it yourself is a worthwhile bonus.