Why Measurements Matter Before You Buy
Measuring is the fastest way to avoid delivery-day headaches, from sofas that won’t fit through doors to dining tables that crowd walkways. With a clear plan, you’ll protect flow, safety, and style while keeping returns and extra fees to a minimum.
What You’ll Need
- Tape measure (25 ft or longer)
- Painter’s tape or chalk
- Notepad or phone notes app
- Laser measure (optional but precise)
- Straightedge and level (optional)
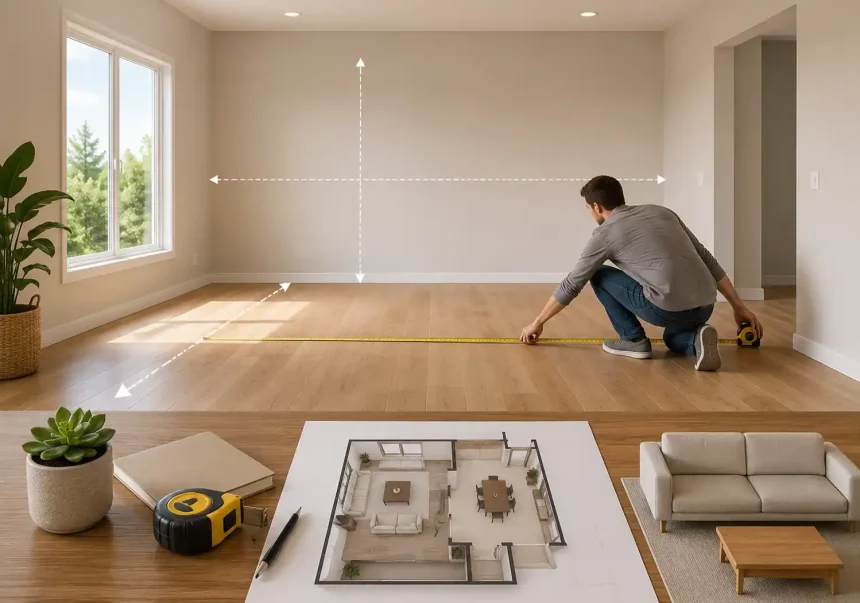
Step 1: Map the Room’s Shell
Before thinking about furniture, capture the true footprint.
Measure Wall-to-Wall and Ceiling Height
- Length and width of the entire room at multiple points; old walls aren’t always square.
- Ceiling height at several spots if floors or ceilings slope.
Note Architectural Obstacles
- Doors (width, height, swing direction), windows (sill and height), radiators, vents, columns, fireplaces, built-ins, and outlets.
- Record distances from corners to each feature to understand usable wall segments.
Sketch a Simple Floor Plan
- Draw a rectangle (or the room shape) and mark dimensions.
- Add door swings, windows, and obstacles to scale. Apps like room sketchers help, but pen-and-paper is fine.
Step 2: Define Clearances and Traffic Lanes
A great layout feels effortless because movement is unobstructed.
Universal Walkway Guidelines
- Main pathways: 36–42 inches for comfortable flow.
- Secondary paths: 30–36 inches.
- Door clearance: keep 3–6 inches beyond the swing.
Functional Clearances by Furniture Type
- Sofa to coffee table: 14–18 inches.
- TV viewing distance: screen size (diagonal) × 1.5–2.5 for 1080p; × 1–1.5 for 4K.
- Dining table edge to wall/buffet: 36–44 inches for chair pull-out and circulation.
- Bed sides: 24–36 inches both sides; foot clearance: 24–36 inches if possible.
- Desk chair behind clearance: 36 inches for roll-back plus pass-through.
Step 3: Measure Access Routes (Doors, Stairs, Elevators)
Your piece must reach the room before it can fit inside it.
Doorways
- Measure width, height, and diagonal (from top-left to bottom-right corner inside the frame).
- Note trim and hardware that can or can’t be removed.
Stairs and Hallways
- Width of the narrowest point, ceiling height at turns, and landing dimensions.
- For tight turns, confirm the diagonal clearance of the stairwell.
Elevators
- Interior cab width, depth, and door height/width; check weight limits if buying extra-large items.
Step 4: Right-Size by Category
Use these quick formulas and ranges to determine ideal furniture dimensions.
Sofas and Sectionals
- Length: leave 18–24 inches of wall on both ends when placing against a wall.
- Depth: 36–40 inches is typical; choose 32–34 inches for narrow rooms.
- Sectional fit: ensure both runs preserve pathways; chaise length should not block doors or windows.
Coffee and Side Tables
- Coffee table length: 1/2–2/3 the sofa length.
- Height: within 2 inches of sofa seat height.
- Side tables: equal to or 1–2 inches below arm height.
Dining Tables
- Seat count: allow 24 inches per person along the perimeter.
- Table size guide:
- Round: 42–48 inches for 4; 54–60 inches for 6.
- Rectangle: 72 × 36 inches for 6; 84 × 40 for 8.
- Add a leaf only if clearance remains 36+ inches all around.
Beds and Nightstands
- Bed size vs. room: add 24–36 inches on both sides and at the foot for circulation.
- Nightstands: width 18–24 inches each; height within 2 inches of mattress top.
- Headboard height: avoid covering windows or switches; verify sloped ceilings.
Dressers and Wardrobes
- Dresser depth: 18–22 inches; allow 24–30 inches drawer pull clearance.
- Wardrobes: check door swing vs. sliding; leave 36 inches in front for dressing.
Desks and Office Chairs
- Desk depth: 24–30 inches; width 48+ inches for dual monitors.
- Chair clearance: 36 inches behind; 12 inches each side for arm movement.
Step 5: Tape It Out Full Scale
Translate numbers into a life-size mockup.
Mark the Footprint
- Use painter’s tape to outline furniture on the floor and walls (for height).
- Sit, walk, and “live” with the layout for a day to confirm comfort.
Check Sightlines and Light
- Ensure doors, windows, and focal points remain visible.
- Confirm natural light isn’t blocked and outlets remain reachable.
Step 6: Verify Product Dimensions the Smart Way
Not all listings are complete or consistent.
Read Spec Sheets Carefully
- Capture width (W), depth (D), height (H), plus arm, leg, and cushion overhangs.
- For recliners or sleeper sofas, note the fully extended depth and clearance requirements.
Mind the Margin of Error
- Allow 1–2 inches of tolerance for hand-built items or thick upholstery.
- For tight fits, ask the seller for crate or box dimensions, not just the product size.
Step 7: Plan Delivery and Assembly
Avoid last-minute surprises by prepping your space.
Protect Access Paths
- Remove artwork, light fixtures, and obstacles along the route.
- Cover floors and corners; measure again on delivery day.
Disassembly Options
- Check if legs, doors, or backs can be detached to shrink the profile.
- For modular sectionals, confirm component sizes fit stairwells.
Advanced Tips for Tricky Rooms
Small Spaces
- Favor leggy, raised pieces to expose more floor.
- Choose narrow arms on sofas to gain seat length without adding width.
- Use nesting tables and extendable dining solutions.
Open-Concept Areas
- Anchor zones with rugs sized to fit at least front legs of seating.
- Maintain consistent aisle widths between zones.
Sloped Ceilings and Attics
- Measure knee-wall height and maximum pitch height.
- Choose low-profile beds, dressers, and modular storage.
Measurement Cheat Sheet
- Main pathways: 36–42 in
- Sofa–coffee table gap: 14–18 in
- Dining clearance: 36–44 in
- Bedside clearance: 24–36 in
- Desk chair clearance: 36 in
Final Takeaway
Accurate measurements turn guesswork into confidence. By mapping the room, preserving clearances, checking access routes, and validating product specs, you’ll choose pieces that look right, live comfortably, and actually make it through the door—no compromises, no surprises.